
AC Installation Checklist: 12 Things to Verify Before You Pay
Most AC faults in year two and three were created on installation day. Twelve checks, in the order they should happen, that prevent them.
An installation is a fifty-year decision compressed into three hours. Copper length, vacuum time, drain slope and bracket strength are all fixed on that day, and every one of them is expensive to correct later. This checklist is the sequence our team works to — print it, and walk through it while the technicians are still on site.
Before the unit arrives: position and power
1. Indoor position. Mount the indoor unit high on a wall that allows at least 15 cm clearance above and 12 cm at the sides, blowing along the room rather than directly at a bed or seating. Avoid a wall shared with a bedroom where noise matters, and avoid above electronics.
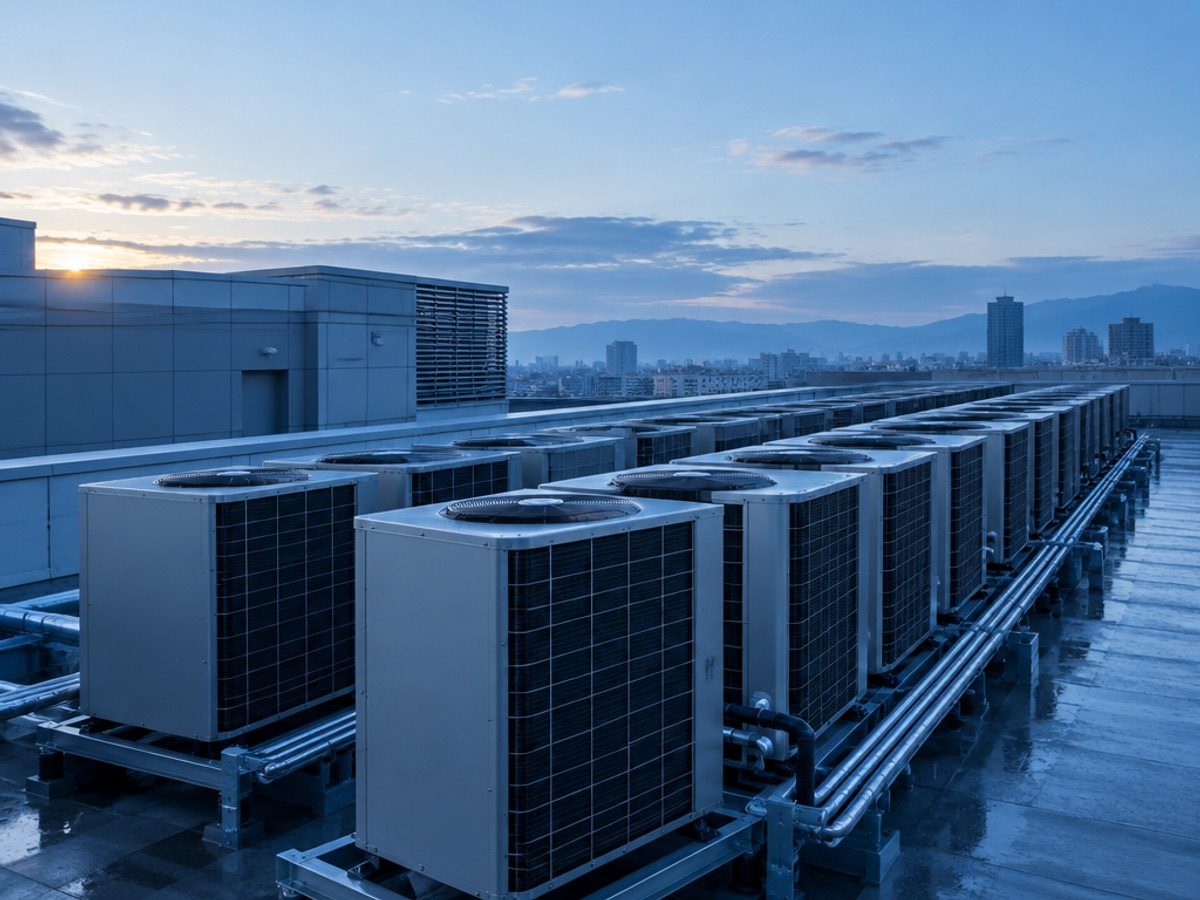
2. Outdoor position. The condenser needs free air on at least two sides and half a metre in front. A boxed balcony, a shaft with no airflow, or a position under a dripping line all shorten compressor life. Direct afternoon sun is acceptable; recirculating hot air is not.
3. Power. A dedicated point with correct cable gauge, a proper isolator within reach, and earthing that is actually connected. A 1.5-ton split typically needs a 16A circuit. Extension boards and shared circuits are the cause of a large share of “tripping” complaints.
4. Route planning. The pipe route between indoor and outdoor should be as short as possible, with gentle bends and no sharp elbows. Every extra metre costs efficiency and money.
During installation: the four things that decide reliability
5. Copper length and flare quality. Standard installation includes a set length — usually three metres. Extra length should be charged per metre and, crucially, gas should be topped up proportionally. Flares must be cut square and torqued, not overtightened until the cone distorts.
6. Vacuum before charging. The line set and indoor coil must be evacuated with a vacuum pump to remove air and moisture. This is the step most often skipped in a hurry. Ask how long the pump ran: a proper evacuation takes 15–30 minutes, not two.
7. Drain slope. The condensate pipe must run continuously downhill from the indoor unit, insulated where it passes through warm zones, and discharge where the water will not stain a wall or annoy a neighbour.
8. Insulation. Both copper lines wrapped, joints taped, and the wall penetration sealed with putty so insects and hot air do not enter.
After fitting: the checks people skip
9. Bracket and vibration. The outdoor bracket must be anchored into structural concrete, not plaster, with rubber pads under the feet. Stand next to it while it runs — you should hear air, not a rattle.
10. Water test. Pour half a litre of water into the indoor drain tray and watch it leave at the outdoor end. If it hesitates, the slope is wrong and it will overflow in August.
11. Cooling test with measurements. Run the unit for at least fifteen minutes and check the supply-versus-return air difference. A normal split shows 8–12°C. Ask for the numbers.
12. Paperwork. Invoice with the model and serial numbers, the warranty card stamped, the installation date, the pipe length used, and the amount of gas charged. Without these, a warranty claim in year two becomes an argument.
What installation should cost in this region
Our published standard installation rate is ₹1,499 per unit, covering the indoor mounting, outdoor bracket fitting, pipe connection, vacuum, test run and basic sealing for a standard run. Uninstallation is ₹899, and indoor unit shifting is ₹1,299 where the outdoor unit stays put.
What is not included, and should be quoted separately before work starts: extra copper beyond the standard length (typically ₹550 per metre), a stabiliser, a stand or heavy-duty bracket for a wall installation, core cutting through an RCC wall, and any electrical work beyond connecting to an existing point.
Be cautious of an unusually low installation quote. The shortfall usually reappears as a charge for pipe, bracket or “gas top-up” once the unit is already on the wall and difficult to refuse.
The mistakes that surface a year later
Three installation errors dominate our repair calls.
- No vacuum. Trapped moisture forms acid in the system, which attacks compressor windings. The unit works for a year, then loses capacity or fails outright.
- Undersized or overlong piping. A long, narrow line drops capacity and can starve the compressor of oil return. The unit looks fine on day one and struggles in peak summer.
- Drain routed into a wall. Water finds plaster, then paint, then the floor below. Nobody connects it to the AC until the stain appears.
All three are invisible on handover and expensive eighteen months later. That is precisely why the checks above belong on installation day.
A note on shifting an existing unit
If you are moving house and taking the AC with you, uninstallation and reinstallation are two separate jobs. The gas should be pumped down into the outdoor unit before the pipes are disconnected — done properly, the same charge is reused; done in a hurry, the gas is lost and you pay for a refill at the new address.
Ask for the pump-down to be confirmed before disconnection, keep the flare nuts capped, and transport the indoor unit upright. On arrival, the installation checklist above applies in full, including the vacuum. A shifted unit that is reinstalled without vacuum will fail sooner than a new one.
Key takeaways
- Vacuum time is the single best predictor of long-term reliability.
- Extra copper should be charged per metre, with a proportional gas adjustment.
- Pour water into the drain tray before the team leaves.
- Demand supply-versus-return temperature readings, not a vague “it is cooling”.
- Keep the invoice with model, serial and pipe length — warranty claims need it.
Frequently asked questions
How long does a split AC installation take?
A straightforward installation takes two to three hours. Core cutting, long pipe runs or an awkward outdoor position can extend it to half a day.
Is a stabiliser necessary for a split AC?
In areas with frequent voltage fluctuation it protects the PCB and compressor. Modern inverter units tolerate wider ranges, but a stabiliser is still cheap insurance.
Can the indoor unit be installed on a wooden partition?
Only with proper blocking behind the board. The unit plus vibration needs structural anchorage; a hollow partition will loosen within a year.
Transparent pricing
Featured AC services and rates
Published rates straight from the AK Aircon Services rate card — 13 categories covering service, installation, gas charging, repair, parts and material.
| Service | Split AC | Window AC |
|---|---|---|
| Dry / Lite service | ₹399 | ₹399 |
| Standard jet service | ₹549 | ₹549 |
| Foam jet service | ₹649 | ₹649 |
| Deep dismantle service | ₹1,349 | — |
| Inspection / diagnosis visit | ₹299 | — |
| Gas charging | ₹2,499 | — |
| Leakage repair | ₹1,499 | — |
| Standard installation | ₹1,499 | ₹1,499 |
| Uninstallation | ₹899 | ₹899 |
| Indoor unit shifting | ₹1,299 | — |
| PCB / electrical repair | ₹1,799 | — |
| Compressor replacement | ₹6,499 | — |
| Copper pipe (per metre) | ₹550 | ₹550 |
Prices include labour and material unless a note states otherwise. Installation material is extra. Units above 2.2 tons are quoted individually.
Need a specific price?
Tell us the unit type and the service. We confirm the exact charge before work starts.
See all 13 categoriesRates are transcribed from the AK Aircon Services rate card. Charges for unusual site conditions or non-standard equipment are confirmed before work begins.